Every year I love making gifts for my family and friends. Make candles Pinerest said, it will be EASY it said...
This is not as easy as it seems but super fun if you have a little patience and are looking for a cute personal gift to give. Ready for the steps? Let's go!
1. Purchase 2 large glass cylinders. I found these at the dollar store. This is also where I found a large display of glasses that you could use to make your candle! Remember only use glass, no plastic here! Fill your pot about 3/4 full of water, and note when the water boils you will have to add more. I would recommend using an old because you will get wax in it! I learned this the hard way!
Link for Soy Wax I purchased from Amazon
2. Wait what seems like forever for the wax to melt. Trust me it will melt, but this is where your patience is tested!
3. Once the wax melts, continue to pour in about 1/2 cup to a cup of wax. I do this in steps because I feel the wax melts faster this way. You don't have to be accurate when adding wax again your goal is to just fill up the glass containers. (Depending on how many gifts you are making) I bought 5lbs of wax and I made 8 candles ranging in sizes.
4. Keep stirring the wax to break it up, here I am using a wooden skewer stick.
5. Now add your candle dye! I purchased the candle dye at Michael's and chose this blue color.
Be cautious on how much dye you use. So for a large glass cylinder I used about 5 drops (dye comes with a little dropper for accuracy) The more color you use, the darker it will become. I wanted to go for a more light feel.
6. Now onto the scents! This was the most difficult for me because I didn't know how much I should use. I chose the product Aura Cacia Pure Essential Oils that I purchased from Whole Foods in lavender and eucalyptus. I did about 10 drops of lavender and 7 drops of eucalyptus. This would be enough if you wanted a lighter scent but if you want something a little stronger I would do almost double that.
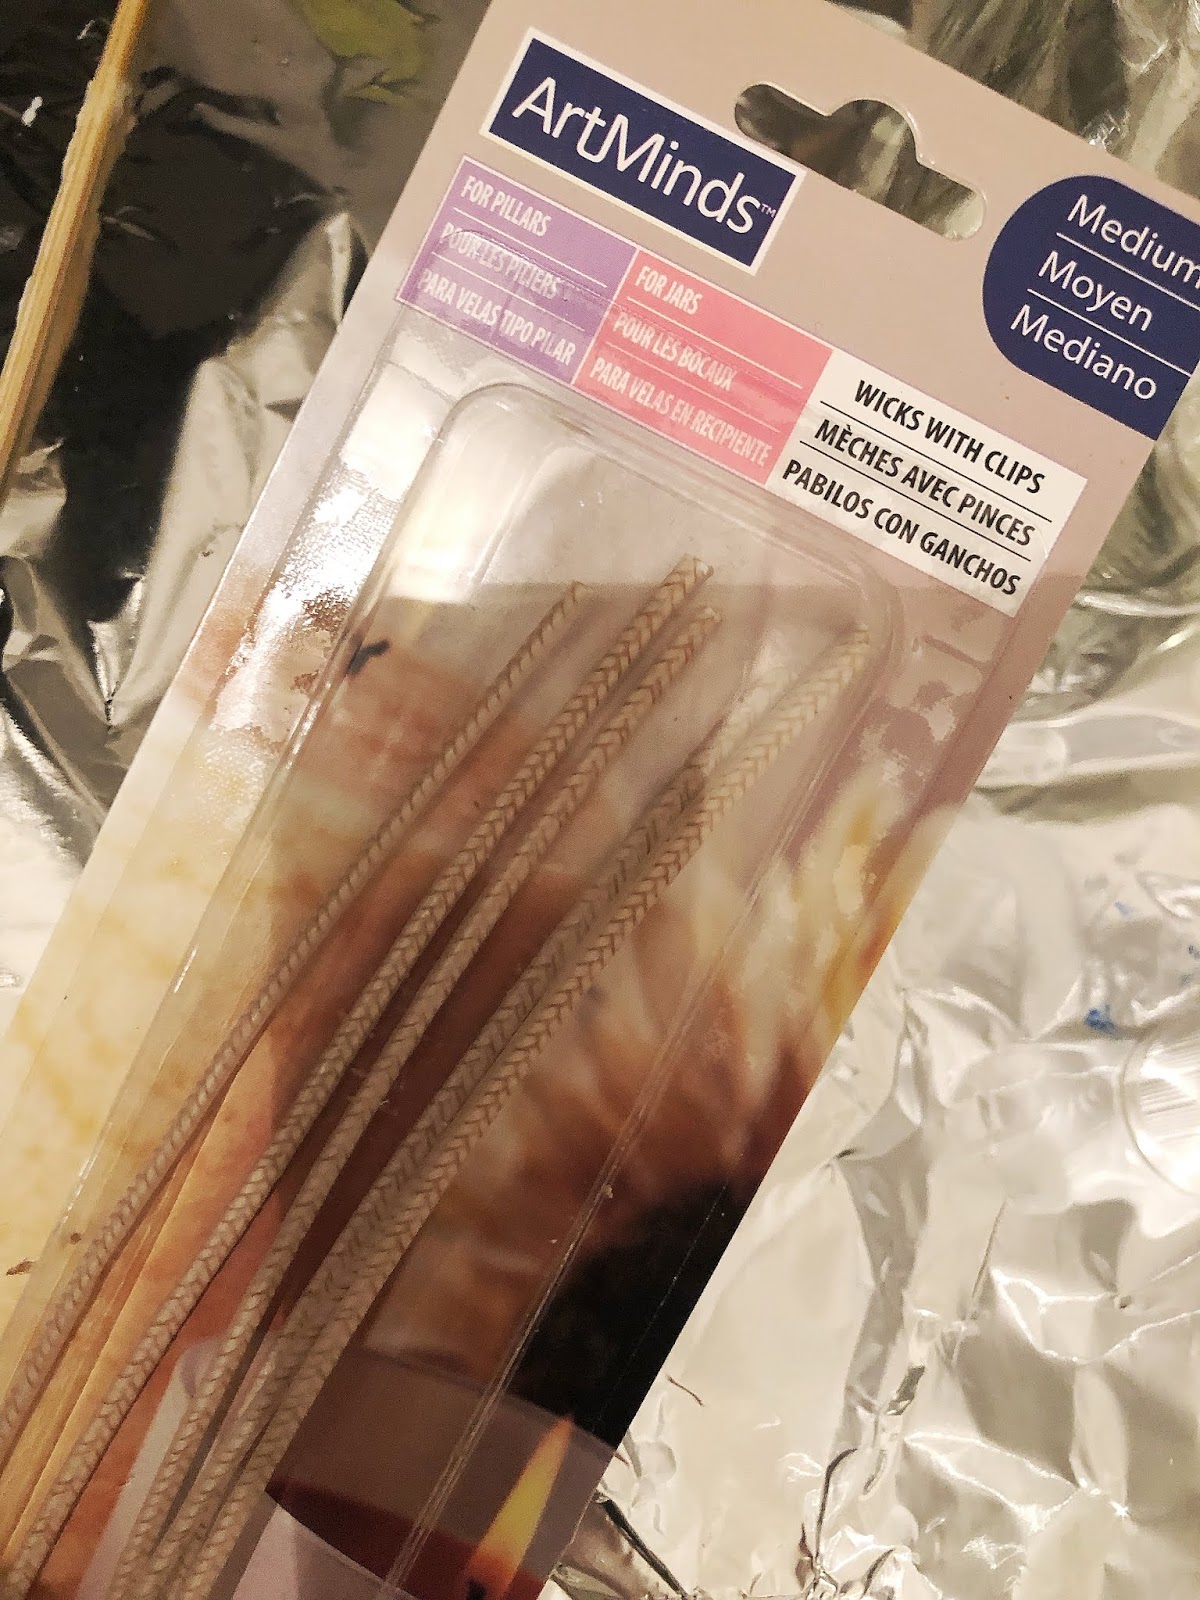
7. Ready for your patience to be absolutely tested to the max?! Now as for the wick, I also purchased from Michaels in size medium.
8. In order to do this step I have to break this down into MORE steps:
1. Dip the metal end of the wick in a little of the wax you have ready and let it cool for a few seconds.
2. When the bottom gets a little tacky, press it firmly in the position that you want the wick at the bottom of the glass.
3. Let this cool for a few minutes while holding pressure on the wick.
4. Grab a pen, have lots of pens handy here, and wrap the end of the wick around the pen so the wick is perfectly positioned in the center of the glass.
5. When your ready slowly pour the wax into the cups and fill as desired.
6. You might have to manipulate the wick again after you pour in the wax, so do so and let it stand completely still and undisturbed so the wick does not become displaced.
There you go! You filled your glasses and now you wait overnight for your wax to dry. I added this cute holiday ribbon the next day that I bought at Paper Source.
This is such a cute and fun project but make sure to be careful! Have safe and proper attire and appliances, make sure all of your candle glasses are made out of GLASS only and remember the wax is hot so mittens and pan holders will be a must when handling the wax! Happy creating everyone! <3